Bios DM600 (en): Unterschied zwischen den Versionen
| (Eine dazwischenliegende Version desselben Benutzers wird nicht angezeigt) | |||
| Zeile 8: | Zeile 8: | ||
{|width=99% | {|width=99% | ||
<div style="margin: 0; margin-right:10px; border: 0px solid #dfdfdf; padding: 1em 1em 1em; background-color:#F8F8FF; align:right;">[[Bild:Artikel_Hinweis.png|right|45px|Information]] | <div style="margin: 0; margin-right:10px; border: 0px solid #dfdfdf; padding: 1em 1em 1em; background-color:#F8F8FF; align:right;">[[Bild:Artikel_Hinweis.png|right|45px|Information]] | ||
| − | == | + | == The Bios of the Dreambox 600 PVR== |
</div> | </div> | ||
|- | |- | ||
| Zeile 15: | Zeile 15: | ||
__TOC__ | __TOC__ | ||
| − | == | + | == How do I get into the bios? == |
| − | |||
| − | === | + | '''The answer is quite simple.''' |
| + | |||
| + | === Explanation: === | ||
This method is convenient if you don't want to install additional tools. It is also suitable for "Non-Windows-Computers", e.g. Linux or MacOS. | This method is convenient if you don't want to install additional tools. It is also suitable for "Non-Windows-Computers", e.g. Linux or MacOS. | ||
Aktuelle Version vom 23. Februar 2014, 16:29 Uhr
InhaltsverzeichnisHow do I get into the bios?The answer is quite simple. Explanation:This method is convenient if you don't want to install additional tools. It is also suitable for "Non-Windows-Computers", e.g. Linux or MacOS. With this method you can:
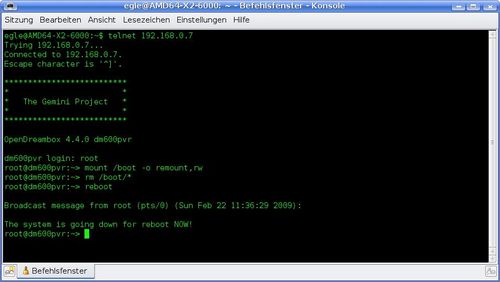
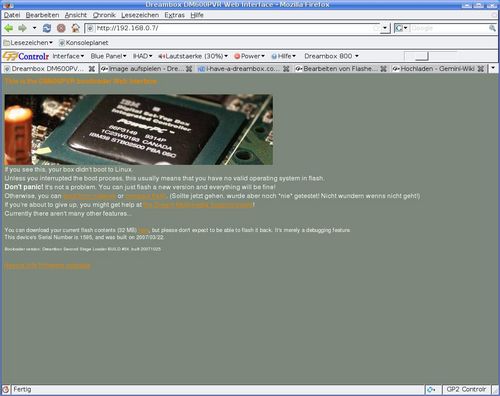
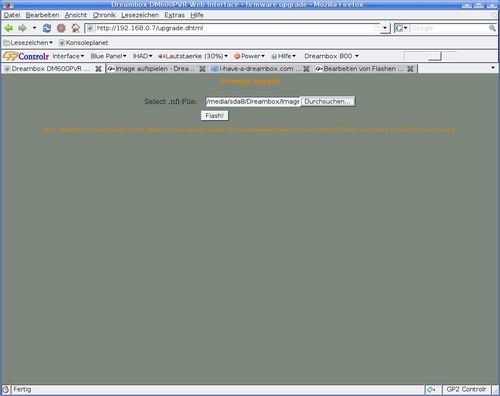
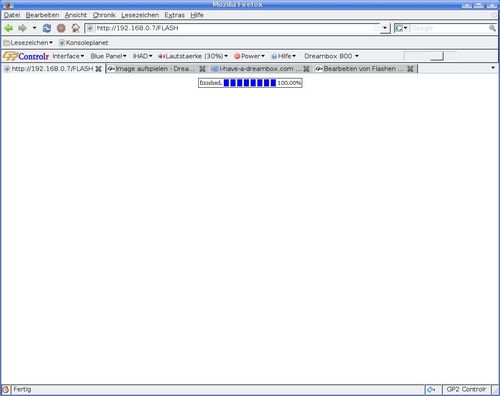
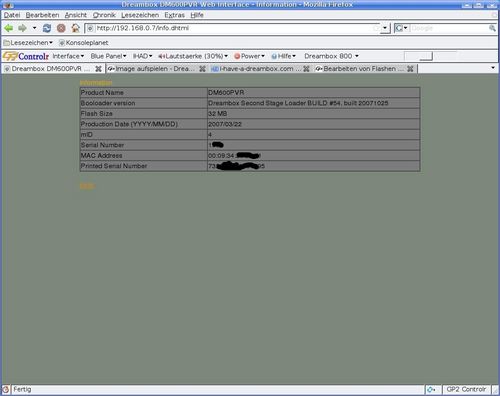
By deleting the /boot directory of the 600, the webif will be enabled while booting. If a DHCP server is used in the network, the dirupted 600 will get an IP (check the router to see which IP). At that moment it's possible to flash the box over the webif. This method is also used by the tool "Very Simple Flashing Assistant". Here you find the manual procedure. This way you don't need a serial cable. Preparation:If you use a DHCP server, you can configure the DHCP server to keep the same IP for a specified mac address. This helps, because each time your restart the boc, the same IP will be used again. This way you don't need to search the IP address, and the IP is known for each box. Execution:The Telnet SessionConnect with the box via Telnet, and execute following commands: mount /boot -o remount,rw rm /boot/* reboot now it's possible to flash the Box via the WebIf. Of course it's important to know the IP of the box. (see chapter preparation) On the console it look like: From here on, the box will reboot. On the TV only a blue screen is visible! Flash with a web browserTo flash the box, In this example the box has the IP 192.168.0.7, this means you need to enter: http://192.168.0.7 The webif for flashing is opened: By clicking on the "Link" Firmware Upgrade, it's possible to select the image you want to flash. Once the upload of the image is completed (be patient) and "finish 100%" is displayed, the box should be rebootet! Flashing was performed without additional tools TipHere you can also get more info about the Dreambox. The fast methodPosted by user cepheus
This way you don't need the Telnet connection. Is valid for all boxes which can be flashed over a browser, |
