GP2 Blue Panel (en)
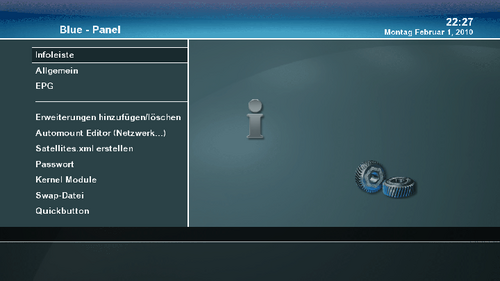
In this article you will find links for extended descriptions of the GP2 Blue Panel desktop. The successor of this Blue Panel is the GP3 Blue Panel desktop.
GP2 Blue Panel Desktop (Basis Gemini 5.x)
| |
Camd Selection-Activation
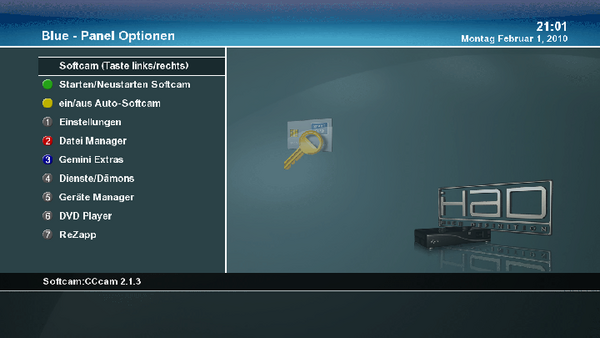
| The cursor is on the menu entry:
Select Camd (left, right)
Here you can select the installed Cams. With the "green button" the selected Cam is started or restarted (Camreset). |
Auto-Cam activate / settings
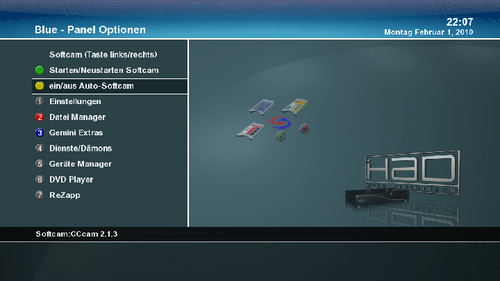
Autocam is used when different channels are using different Cams. The Cams will be started/stopped automatically.| With the "yellow button" you can activate the Autocam function. This wokrs only when more as one Softcam was installed! |
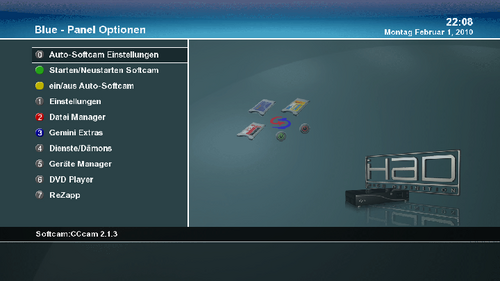
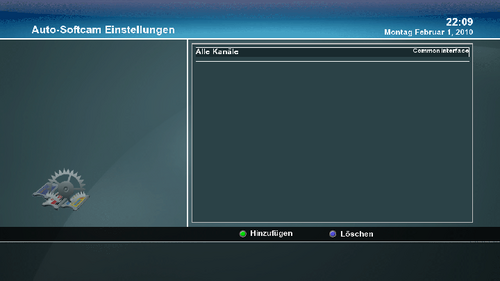
| After activating the Autocam function with the "yellow button" of the remote control the menu appears. We continu with the Autocam settings. |
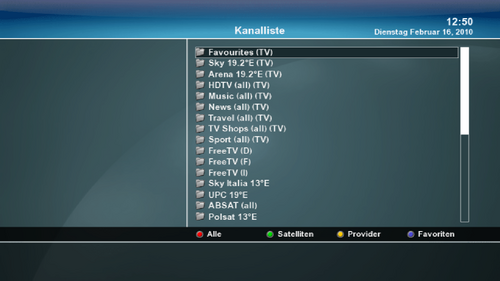
| Here it is possible to assign a specific SoftCam for a channel. If you want to add a new channel press the <green> button. Now it is possible to navigate through the different lists (provider/satellites) with the colored buttons. Press <OK> to add the selected channel. |
| Now you can: select a channel in the favoriten list with the colored buttons you can select satellites or providers to choose a channel. |
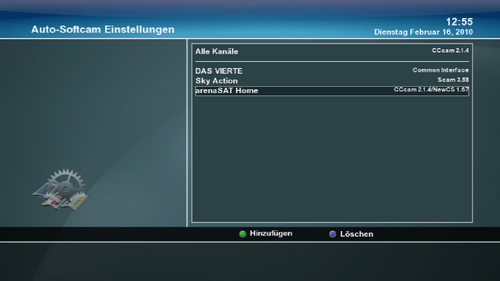
| Here you select the wanted channels, satellites or provider and assing a Softcam. with the blue button you can delete an entry. |
Settings
|
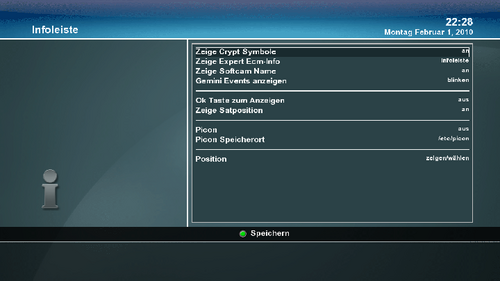
Infobar
|
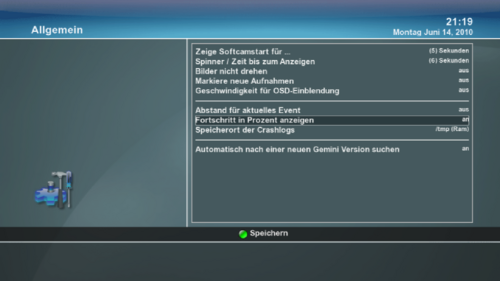
General
|
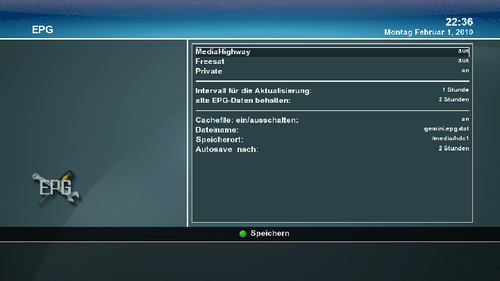
EPG Setup
|
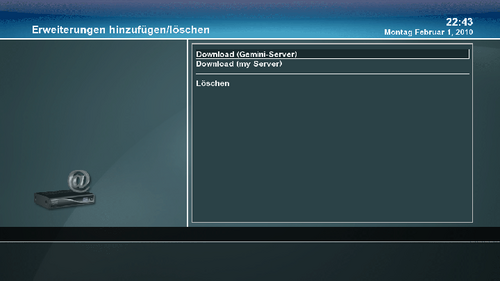
Install/Remove addons
|
Download (Gemini Server)
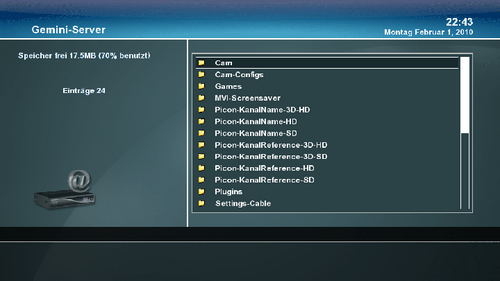
| A part of the list offered by the Gemini Server. |
Download (My Server)
Here you have access to an extra server, if you have configured the server yourself.
This is an interface for users who want to install other Addons as offered by the Gemini Server over the BluePanel.
Therefore you need to configure the useraddon.xml to connect toy your own server. The useraddon.xml can be found in /etc.
Remove
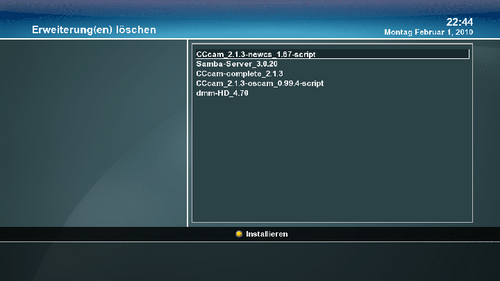
| Think twice before removing, once removed it is gone... |
Automount Editor (Network...)
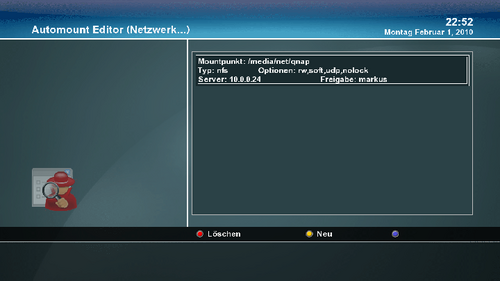
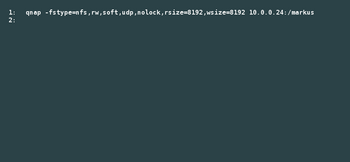
| this is how it looks if an entry exists in the /etc/auto.network. |
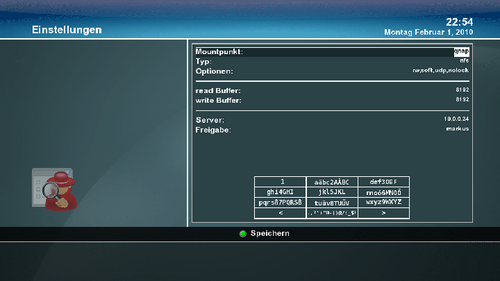
| With the editor it is possible to add an entry with the remote control in the /etc/auto.network, or to edit. But it's easier to edit the "auto.network" directly in "/etc" with an editor. |
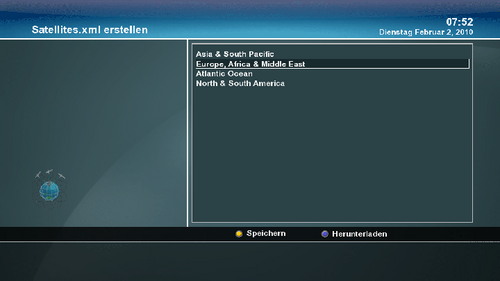
Create satellites.xml
| Here you can select the desired satellite region, for creating you new satellites.xml. |
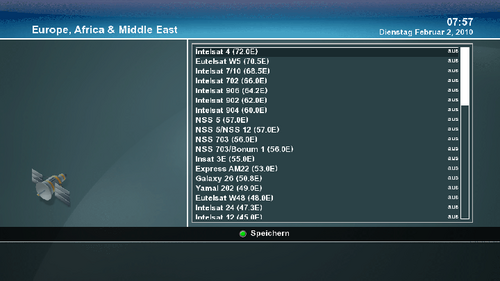
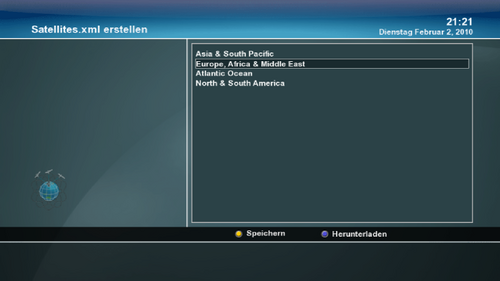
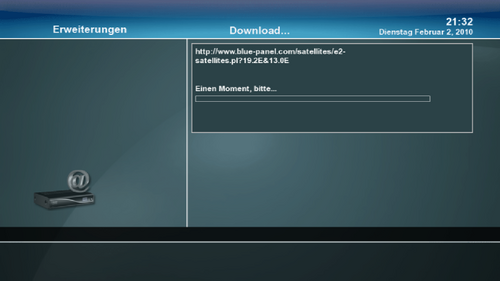
| Here you can select the desired satellitsn you can receive. With the cursor right/left you can switch the selection. Once the seledction is made and saved with the green button, the menu for downloading appears (next image) |
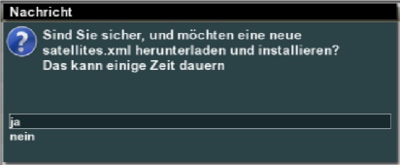
| Here you can start the download over the blue button |
Password
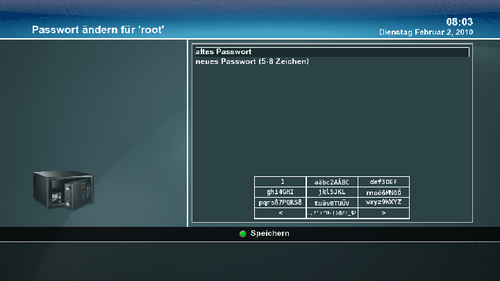
| Here you can change the password for the superuser "root". It's also possible to change the password over telnet: Change Password (en) |
Swap file
Quickbutton
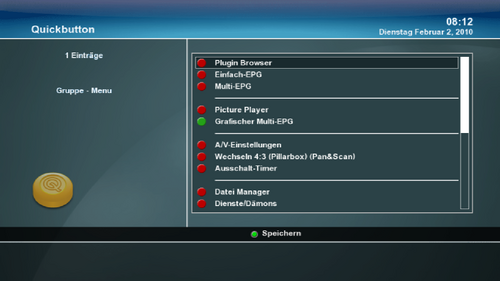
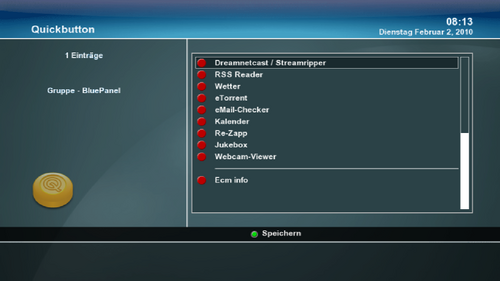
The Quickbutton is the green button on the remote control (in TV Mode). Standard only the Pluginbrowser is activated, you can add additional applications. If you have added applications a selection menu appears when pressing the green button.
Informations how to add telnet commands or scripts can be found here: Quickbutton.xml
File Browser
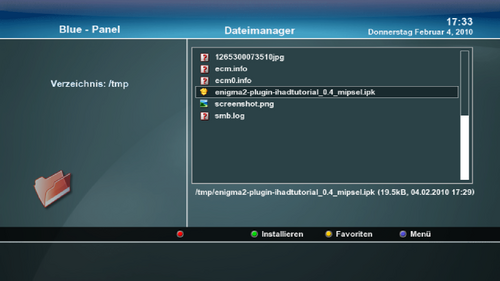
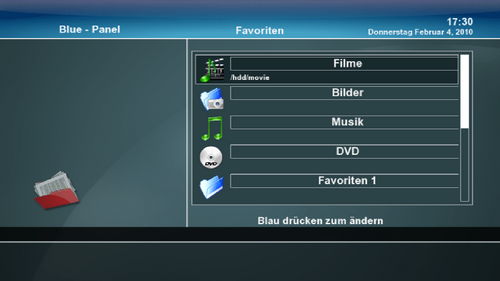
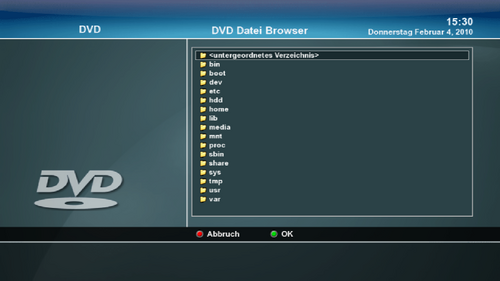
The File Browser is on of the most powerfull tools in Gemini. With this file browser you can navigate through the image, but it will also play media files , show text files and you can install manually all kind of Addons. And of course you can delete, rename ... files.
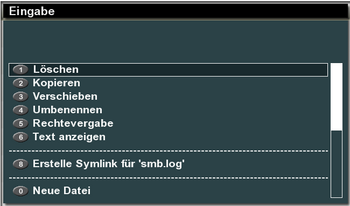
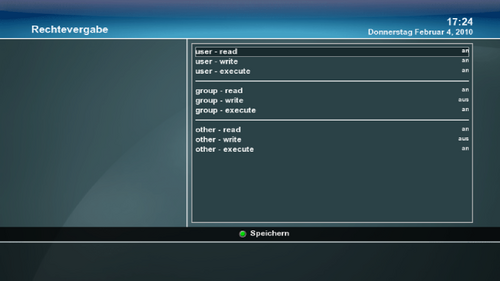
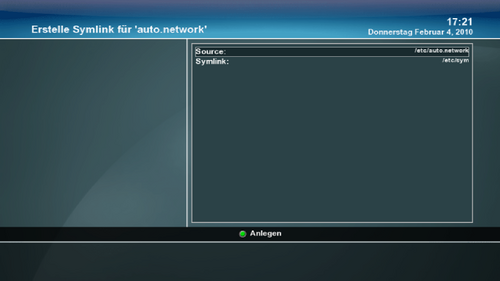 Create a Symlink | |
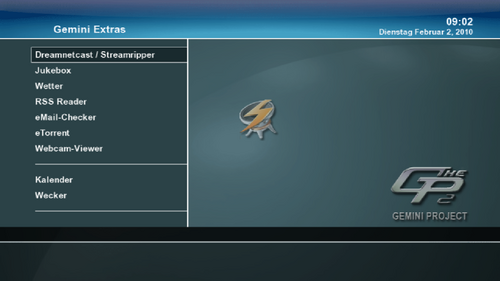
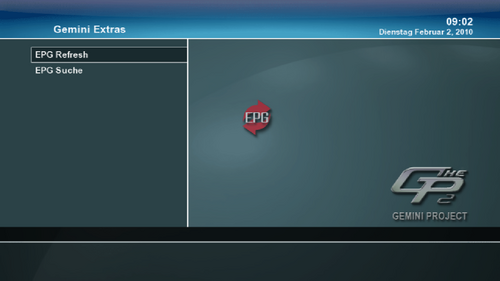
Gemini Extras
The control central for most of the Gemini Addons, which are integrated in the Gemini Image.
| |
|
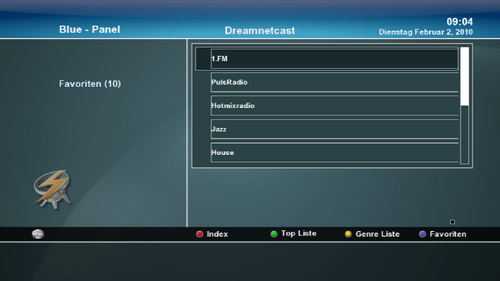
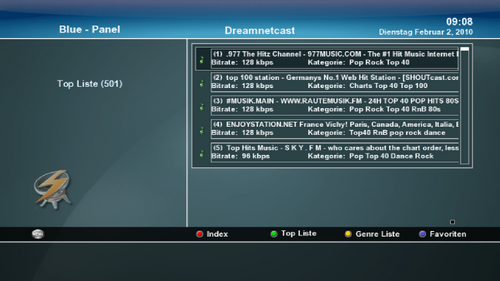
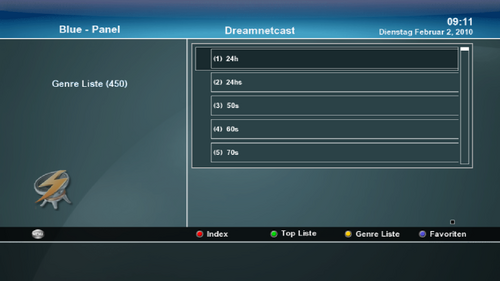
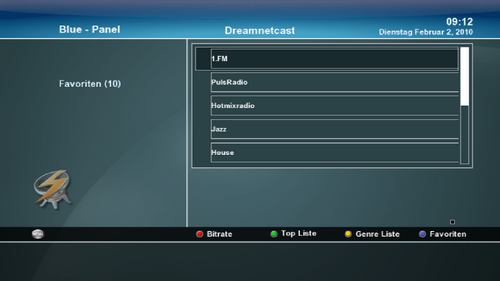
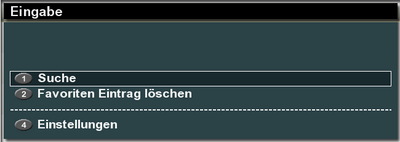
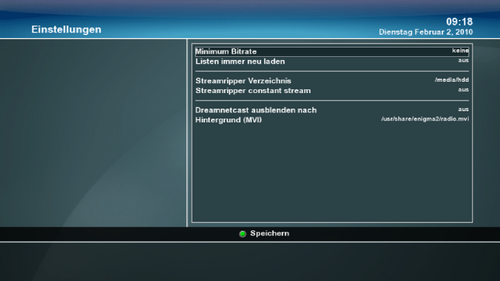
Dreamnetcast / Streamripper
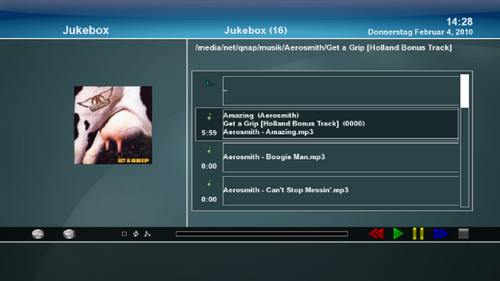
Jukebox
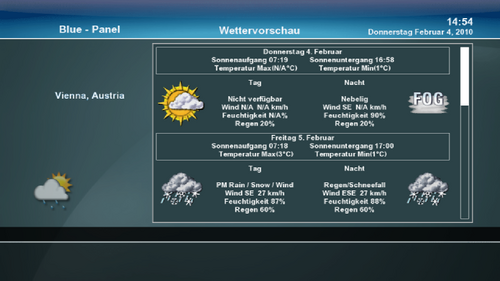
Weather
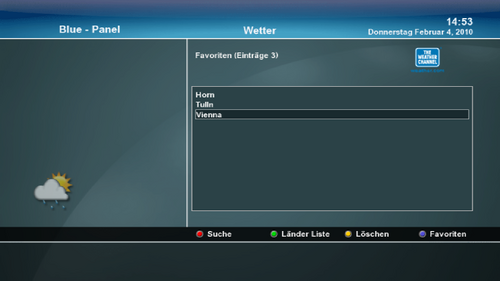
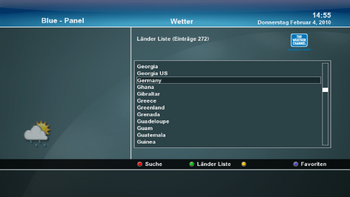
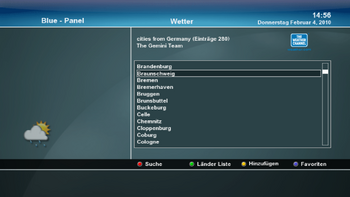
Add a city:
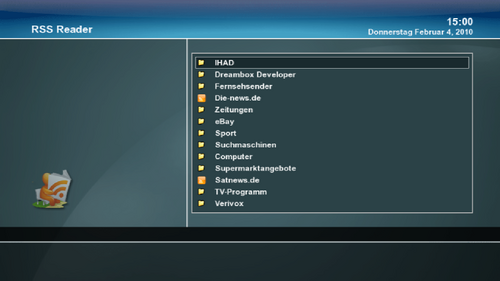
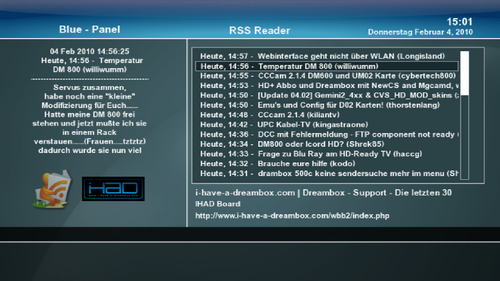
RSS Reader
The settings for the RSS Reader can be changed int the /etc/Favo RSS.xml with a text editor.
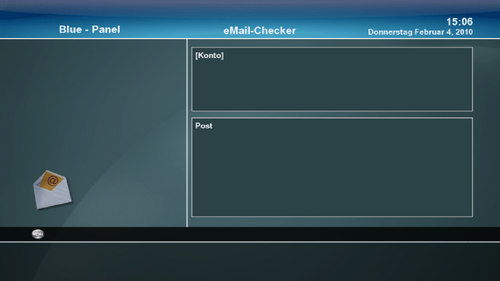
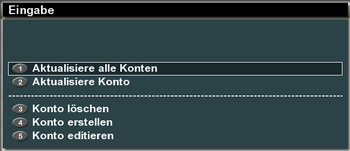
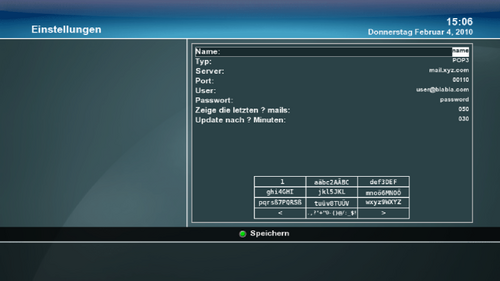
eMail Checker
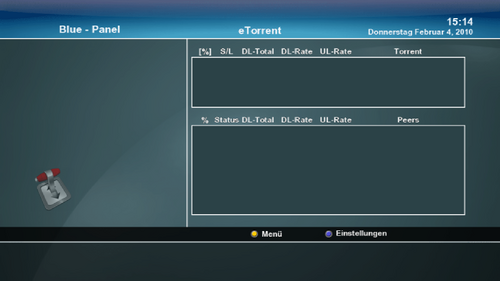
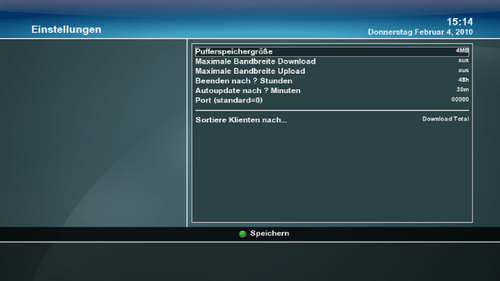
eTorrent
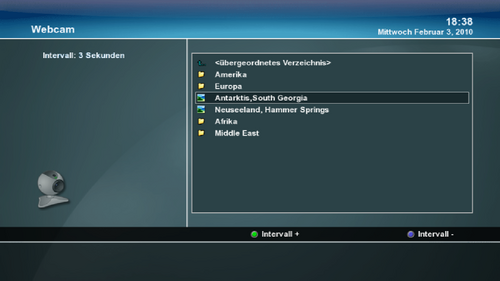
Webcam Viewer
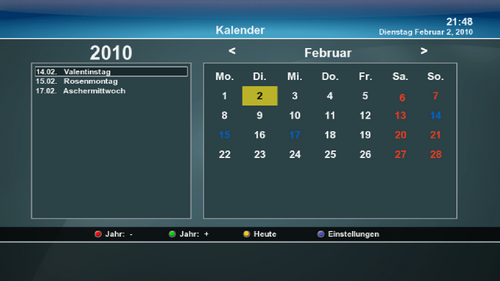
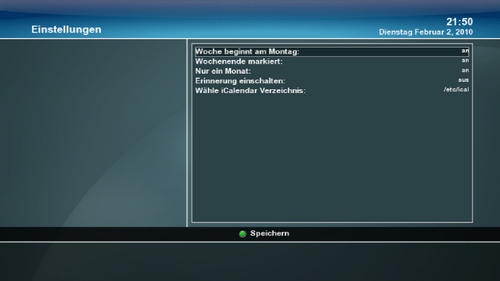
Calendar
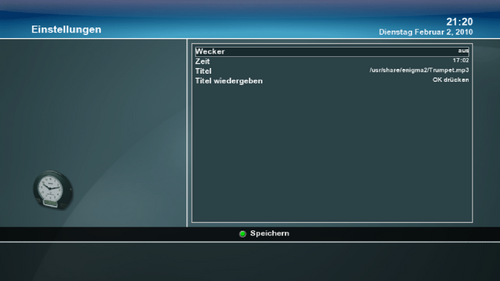
Alarm clock
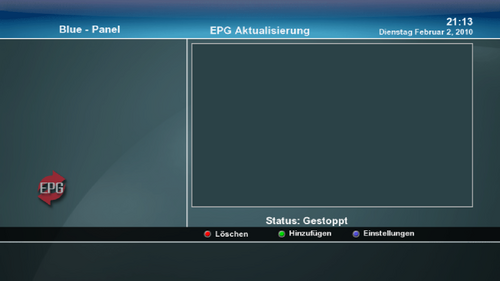
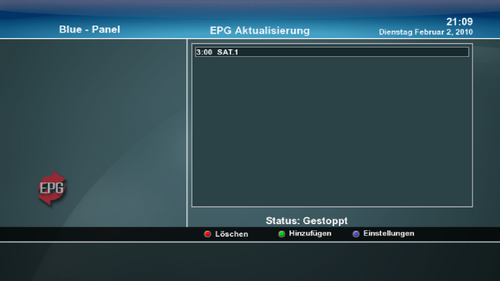
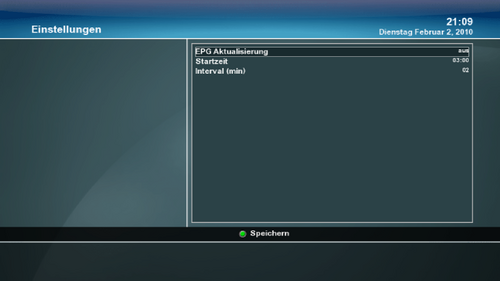
EPG Refresh
EPG Refresh schaltet Nachts zur täglichen Aktivierung des EPG´s auf vom User vorgegebene Sender (wobei ein Sender je Senderguppe genügt - also z.B. RTL bringt das EPG der gesamten RTL Sender) Damit hat man immer aktuelles EPG ohne erst auf den entsprechenden Sender zappen zu müssen.
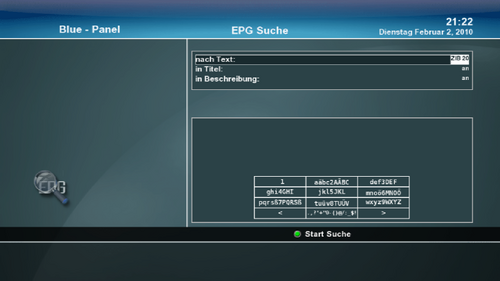
EPG Search
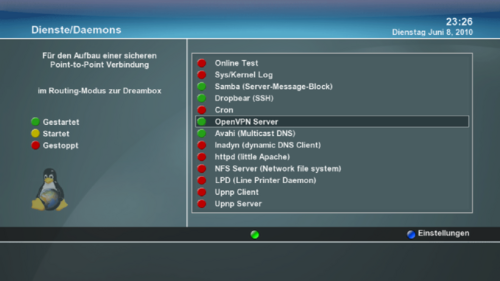
Daemons
|
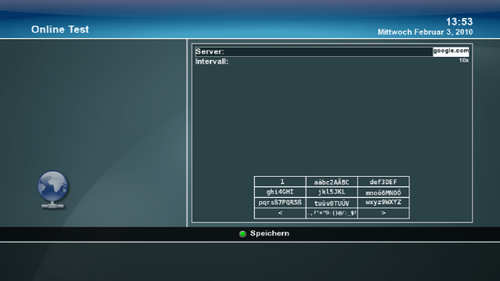
Online Test
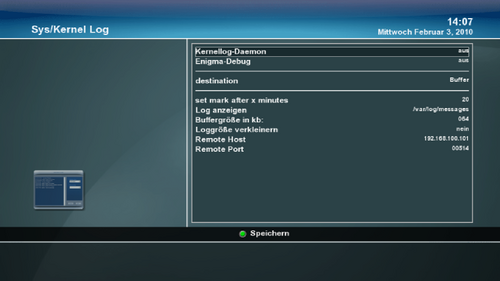
Sys/Kernel Log
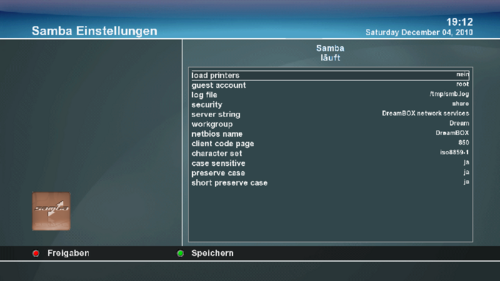
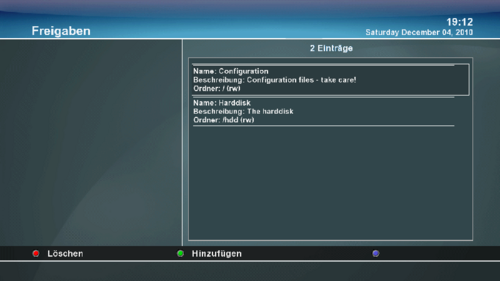
Samba Server
| Die Konfiguration kann auch in der /etc/samba/smb.conf erfolgen. Für nähere Infos zur Installation und manuellen Konfiguration siehe hier. |
Dropbear (SSH)
Folgende Wiki Artikel beschreiben die Funktionen und Möglichkeiten von Dropbear.
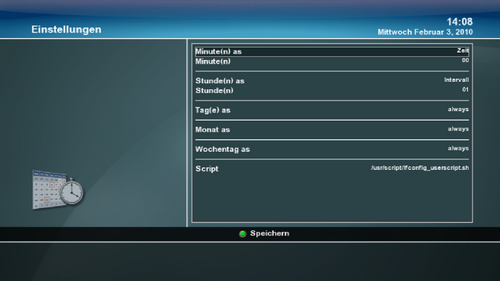
Cron
OpenVPN
| ab Gemini 5.1 verfügbar | |
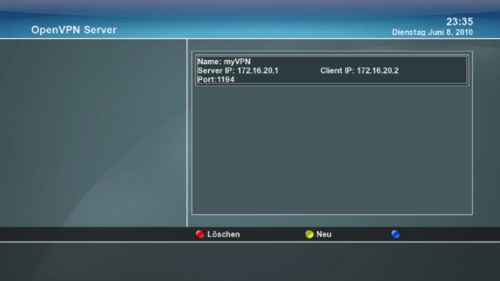
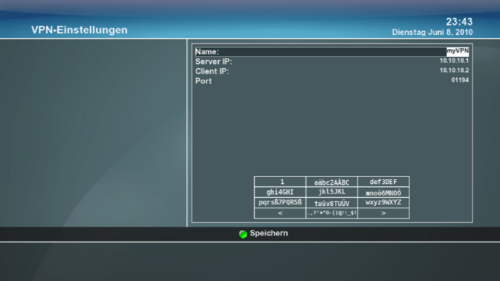
| hier kann man auf einfache Weise einen Openvpn Server einrichten, die beiden IP´s stellen die Tunneladressen dar, welche sich von den andern IP Adressbereichen unterscheiden müssen. | |
| mit Speichern wird im verzeichniss /etc/openvpn wird ein Keyfile (*.key), die Serverconfig(*.conf) und die Windows Clientconfig (*.ovpn)
.key und .ovpn werden in den Config Ordner in Openvpn für Windows kopiert - in die .ovpn muß noch die IP/DynDNS Adresse welche zur Dreambox (am Router) weitergeleitet ist eingetragen werden. Nach dem erfolgreichen start des VPN tunnels (grünes Symbol in der Windows Taskleiste) sollte die Dreambox auf der Tunneladresse des Servers erreichbar sein. |
natürlich sollte auch die Verbindung mit Certifikaten mit der Dreambox als Server oder Client funktionieren - hierzu müssen die configfiles manuell editiert werden
Avahi (Zeroconf)
| Avahi ist eine freie Implementierung von Zeroconf, einer Technik zur Vernetzung von Geräten in einem lokalen Netzwerk, ohne dass diese manuell konfiguriert werden müssen |
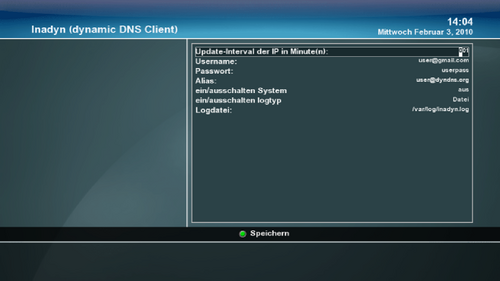
InaDyn (dynamic DNS Client)
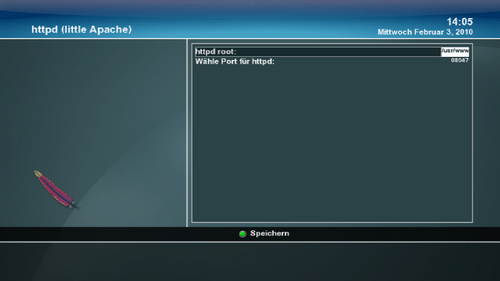
httpd (Little Apache)
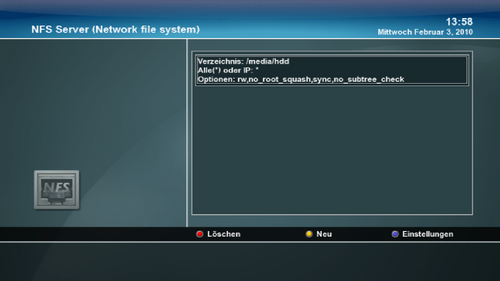
NFS-Server
Drucker (LPD)
Wenn das entsprechende KernelModul geladen wurde und ein USB Drucker angeschlossen ist wird hier der Druckserver als (grün) aktiv dargestellt.
Anleitung zur Einrichtung der Dreambox als Druckserver.
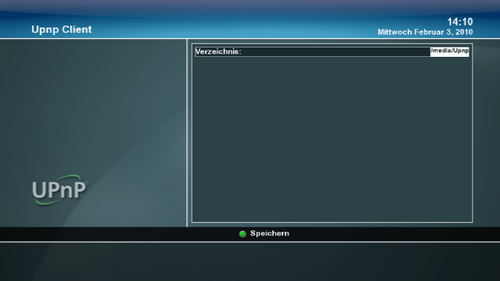
UPnP Client
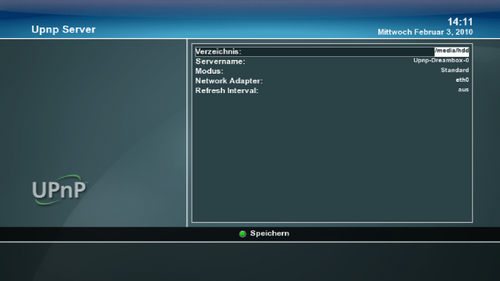
UPnP Server
Siehe auch: Stream auf PS3
TPMD (Genuine Dreambox)
| Dieser Dienst ermöglicht eine "Echtheitsprüfung" um festzustellen ob deine Dreambox ein "original" ist. Mittels Genuine Plugin im Pluginbrowser kann man die Prüfung ausführen. |
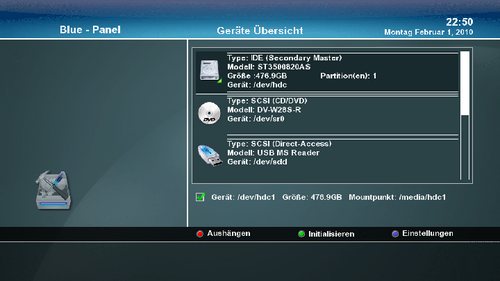
Device Manager
|
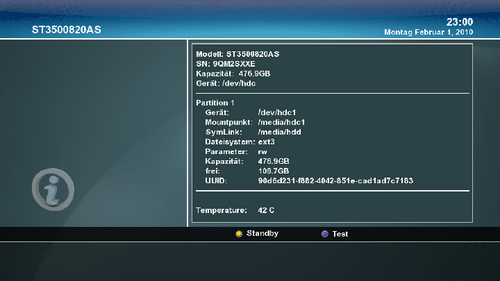
Informationen
|
Testmenü
|
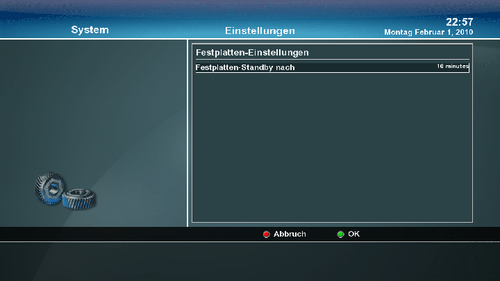
Einstellungen/Parameter
| Festplatten: Festplatten Standby nach - Festplatte schaltet nach der eingestellten Zeit aus | |
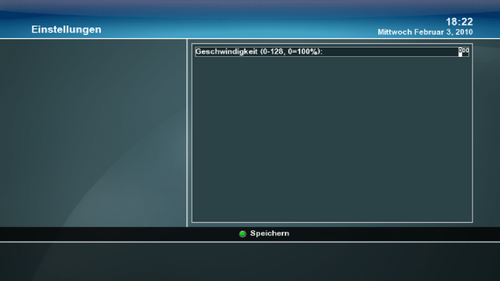
| DVD-Laufwerke: Geschwindigkeit - Je höher der Wert desto leiser ist das DVD Laufwerk |
HDD-Temperatur
Sollte die Festplatte nicht erkannt werden findet man hier hilfe dazu: Hddtemp.db
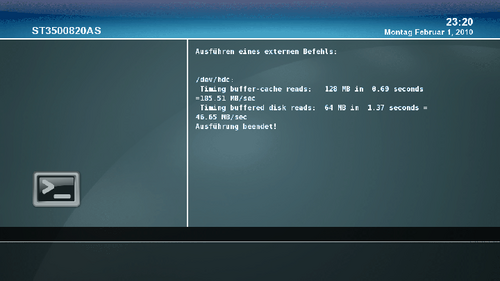
HDD-Geschwindigkeit
Initialisieren (Formatieren)
Vor dem Formatieren muß die Festplatte "ausgehängt" werden.| Wenn die Festplatte formiert wird/wurde, sind alle Daten darauf verloren! |
DVD Player
| Further informations about the DVD Player and the operation can be found here: DVD Player |
ReZapp
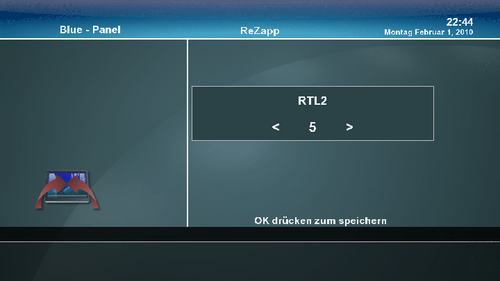
| Here in this example after 5 minutes the box zapps automaticcally back to the channel RTL2. You can zapp as much as you want, after the set time the box zapps back to the channel. |
